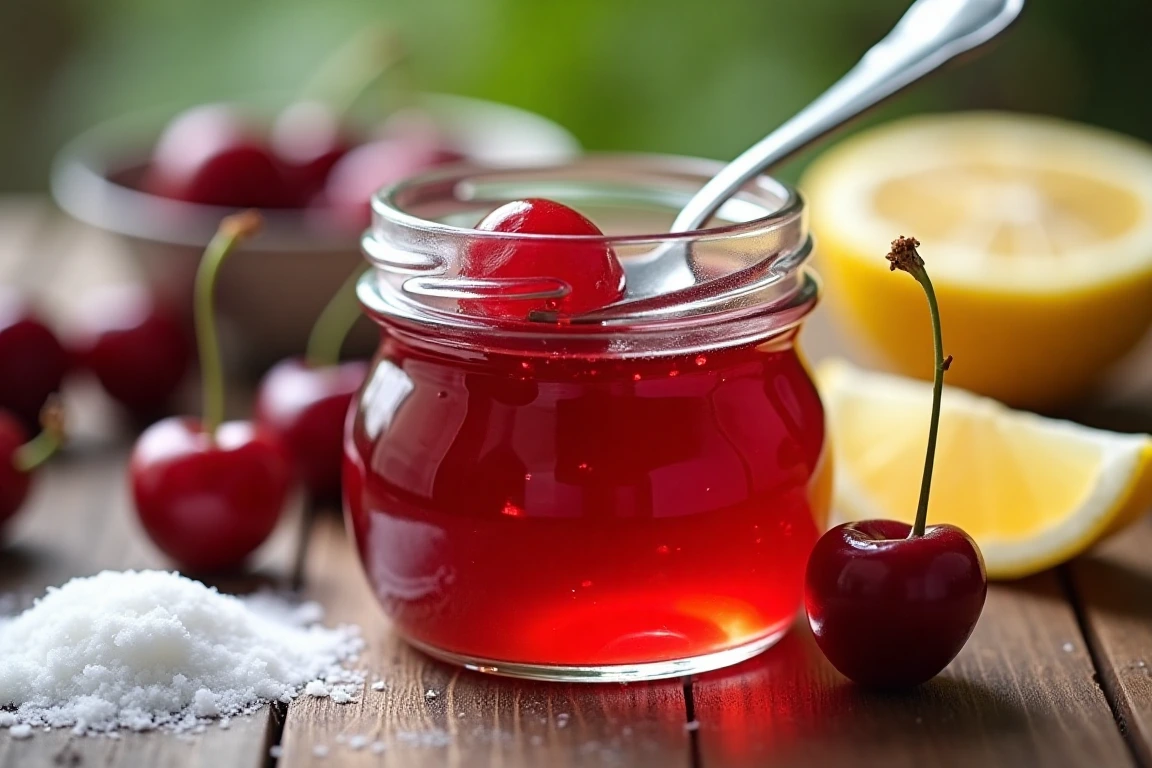
Creating your own cherry jelly recipe at home is both fun and rewarding. It allows you to control the quality of ingredients and enjoy the vibrant taste of cherries year-round. Unlike store-bought options, homemade cherry jelly is free of preservatives and packed with natural flavors. To get started, make sure your jars are ready by learning how to sterilize jars for safe canning.
Additionally, this recipe is incredibly versatile. You can use sweet or sour cherries depending on your taste. Moreover, it’s simple to adjust the sugar level or incorporate unique flavors like spices or other fruits. For more insights into pectin usage, visit this guide to using pectin for better results.
To complete your breakfast spread, try pairing it with Oat Molasses Bread for a wholesome and satisfying treat.
Additionally, cherry jelly is versatile. You can use it in sweet desserts, as a glaze for savory dishes, or even as a dipping sauce. For example, consider using it to add a unique touch to Sweet Potato Ukoy or enjoy it as a dipping sauce alongside crispy Long John Silver’s Batter creations.
Why Make Cherry Jelly Recipe at Home?
- Quality Control: You can select fresh cherries and adjust sugar levels.
- Cost Savings: Homemade jelly is more affordable than store-bought.
- Versatility: Use cherry jelly as a spread, glaze, or dessert topping.
Ingredients for Cherry Jelly Recipe
What You’ll Need
- 4 cups fresh or frozen cherries (sweet or sour)
- 3 cups sugar
- 2 tablespoons lemon juice
- 1 pouch liquid pectin
Step-by-Step Instructions
1. Prepare the Cherries
- Wash and remove stems and pits from the cherries.
- Then, crush the cherries using a potato masher or fork to release their juices.
2. Cook the Cherries
- In a large pot, combine crushed cherries, sugar, and lemon juice.
- Bring the mixture to a boil over medium-high heat, stirring often. Next, reduce the heat and let it simmer for about 10 minutes.
3. Strain the Mixture
- Pour the mixture through a fine-mesh sieve or cheesecloth into a clean bowl.
- Meanwhile, press down on the pulp to extract as much juice as possible.
4. Add Pectin and Cook Again
- Return the strained juice to the pot and stir in the pectin.
- Bring the mixture to a rapid boil and cook for 1–2 minutes, stirring constantly.
5. Fill and Seal Jars
- Carefully ladle the jelly into sterilized jars, leaving ¼ inch of space at the top.
- Wipe the rims clean and seal tightly.
6. Cool and Store
- Allow jars to cool at room temperature for 24 hours.
- Store in the refrigerator for up to 3 weeks or freeze for up to a year.
Tips for Perfect Cherry Jelly
- Always sterilize jars to prevent spoilage.
- Use a candy thermometer to ensure the jelly sets at the right temperature.
- Don’t overcook the mixture, as this can result in a rubbery texture.
Creative Variations
- Mixed Fruit Jelly: Add raspberries or blackberries for a unique twist.
- Savory Glazes: Use cherry jelly to glaze meats or enhance dishes like Sweet Potato Ukoy.
- Dipping Sauce: Pair cherry jelly with crispy items like Long John Silver’s Batter for a sweet-savory combo.
Serving Suggestions
- Spread on toast or bagels for a classic breakfast treat.
- Use as a glaze for meats like ham or pork chops.
- Drizzle over cheesecake, yogurt, or ice cream for a sweet topping.
- Pair with crackers and cheese for a simple yet elegant appetizer.
FAQs About Cherry Jelly Recipe
1. Can I make cherry jelly without pectin?
Yes, but the jelly may have a looser consistency.
2. How long does homemade cherry jelly last?
Refrigerated, it lasts up to 3 weeks; frozen, it lasts up to a year.
3. Can I use frozen cherries?
Absolutely! Thaw them first for better juice extraction.
Why This Cherry Jelly Recipe is a Must-Try
This cherry jelly recipe is simple, versatile, and delicious. Furthermore, it lets you enjoy the pure taste of cherries in every spoonful. Whether you spread it on toast, use it as a glaze, or incorporate it into desserts, this recipe guarantees a burst of flavor. Try it today and savor the homemade goodness!

